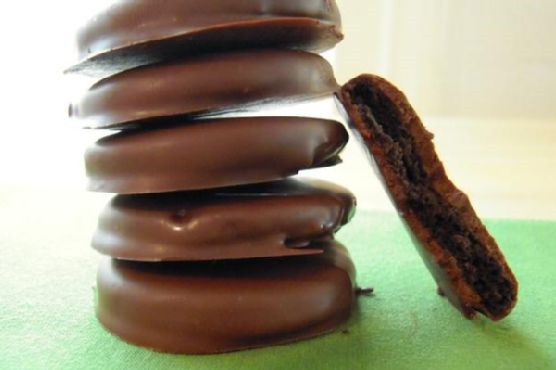
Allergy-Free Thin Mints
By nguyen nguyen nguyen
0’
Prep time
45’
Cook time
0’
Total time
28
Calories
100
Serving
Summary
Allergy-Free Thin Mints could be just the gluten free and dairy free recipe you've been looking for. For 5 cents per serving, this recipe covers 0% of your daily requirements of vitamins and minerals. This hor d'oeuvre has 28 calories, 0g of protein, and 2g of fat per serving. This recipe serves 100. This recipe is liked by 19 foodies and cooks. From preparation to the plate, this recipe takes about 45 minutes. It is brought to you by Foodista. If you have ener-g egg replacer, baking soda, my basic flour mix, and a few other ingredients on hand, you can make it. Taking all factors into account, this recipe earns a spoonacular score of 9%, which is improvable. Users who liked this recipe also liked Allergy-Free Thin Mints, Gluten Free Thin Mints, and Gluten Free Thin Mints.
Isabella Majhi
0 Followers